The Jupyter Notebook is a web application that enables you to create and share documents that can contain a mix of live code, equations, visualizations, and explanatory text. This is an introduction to using Jupyter notebooks on Lawrencium.
Before getting started, make sure you have access to the Lawrencium cluster, as you will need your LRC username and one-time password to log in.
As described next, you can start a Jupyter notebook via the Open OnDemand service, which allows you to operate completely via your web browser on your local computer (e.g., your laptop). Open OnDemand replaces our old (much more limited) JupyterHub service.
Using Jupyter notebooks via the interactive Open OnDemand service
Running a notebook via Open OnDemand
- Connect to https://lrc-ondemand.lbl.gov
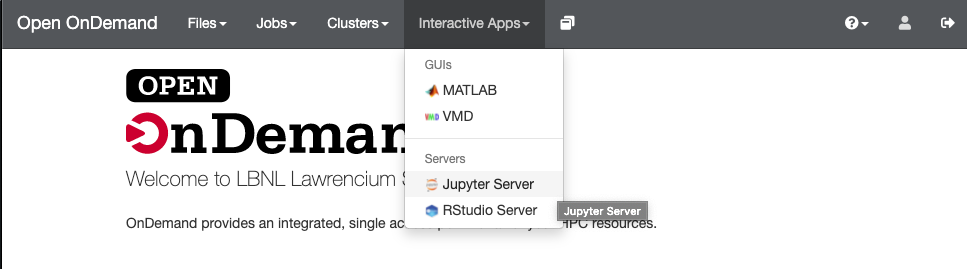
- Just after logging in with your LRC username and one-time password (OTP), the initial OnDemand screen presents a welcome screen. Click the “Interactive Apps” pulldown.
- Choose the appropriate Jupyter Server option to either run as part of a Slurm batch job (“compute in batch queues“) or (for non-intensive computations) on our standalone Open OnDemand server.
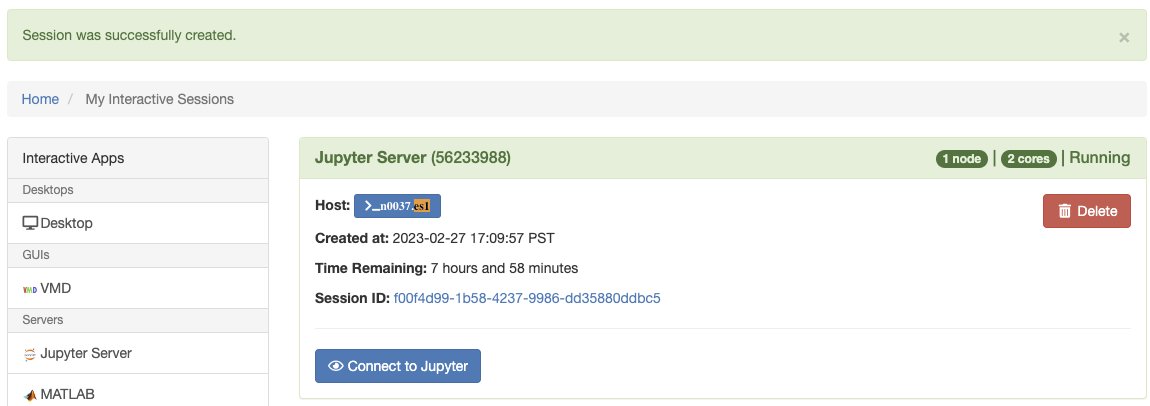
- Fill out the form presented to you and click on “Launch“. For batch-based work, you’ll need to provide the information that you would usually supply when submitting a Slurm job. Once the server is ready, you will be able to click no the “Connect to Jupyter” button.
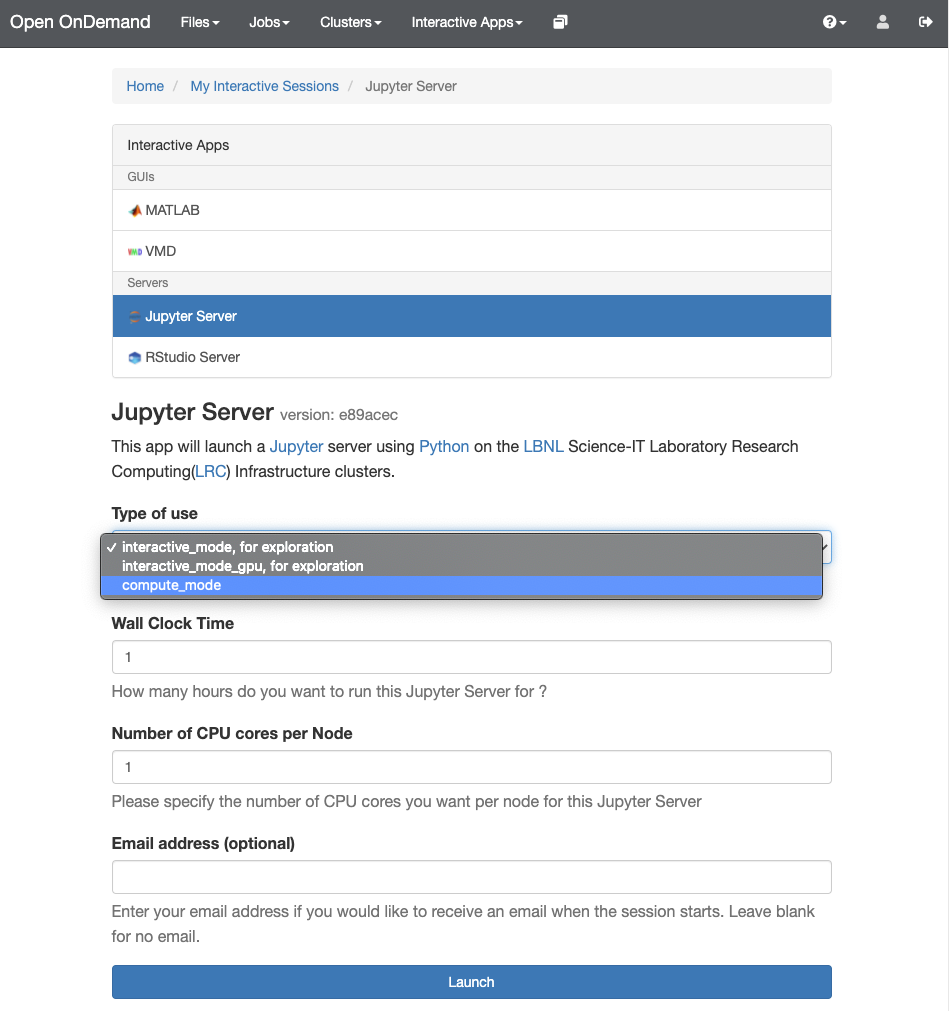
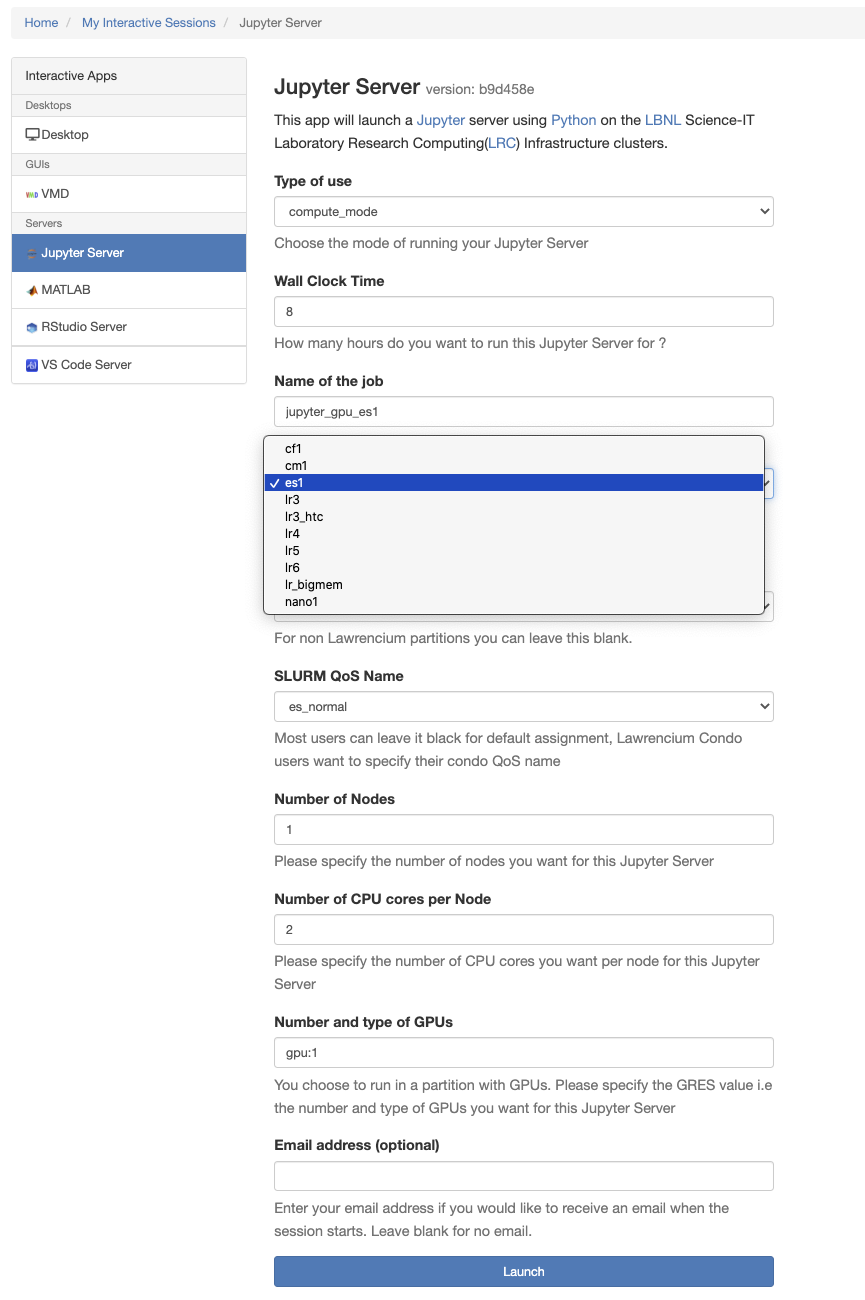
- To launch a Jupyter Server on the ES1 GPU partition, please follow these steps:
- Select “Type of use” -> “compute_mode“, “SLURM Partition” -> “es1“, “SLURM QoS Name” -> “es_normal“.
- Specify the number of nodes, CPU cores per node, and GPU(s) required. For instance, to launch a Jupyter Server on 1 node with 2 CPU cores and 1 GPU, choose “Number of Nodes” -> “1“, “Number of CPU cores per Node” -> “2“, and “Number and type of GPUs” -> “gpu:1“.
Please note that the minimum recommended ratio of CPUs to GPUs is 2:1. - Wait for the server to be ready and then click on the “Connect to Jupyter” button.
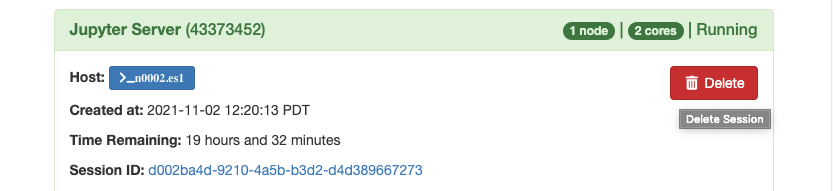
For an example of launching a Jupyter Server on 1 node with 2 CPU cores and 1 GPU, please see the screenshot below:
- After clicking on “Connect to Jupyter“, the home directory will be displayed. From the “New” dropdown menu (next to “Upload” near the top right of the screen) select one of the following options:
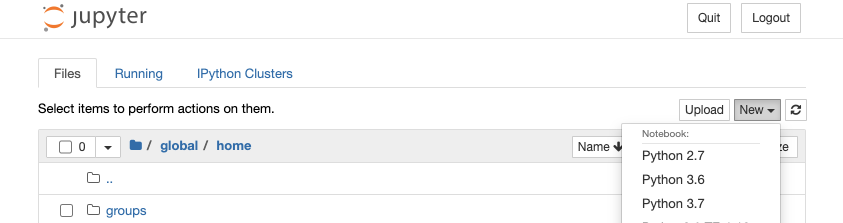
- Select “Python 3.6” under “Notebooks” for a Notebook with full access to Python 3.6.8 and the system-installed Python 3.6 packages (Python 3.6.8 and its packages are also available through the python/3.6 module when logging into Lawrencium in the usual way).
- Select “Python 3.7” under “Notebooks” for a Notebook with full access to Python 3.7.4 and the system-installed Python 3.7 packages (Python 3.7.4 and its packages are also available through the python/3.7 module when logging into Lawrencium in the usual way).
- Select “Python 2.7” under “Notebooks” for a Notebook with full access to Python 2.7.14 and the system-installed Python 2.7 packages (Python 2.7.14 and its packages are also available through the python/2.7 module when logging into Lawrencium in the usual way).
- Select “Terminal” to open a UNIX terminal session instead, so that you can work at the command line, rather than in a Notebook. (You might select this option if you need to set up IPython Clusters or add kernels, as described further below.)
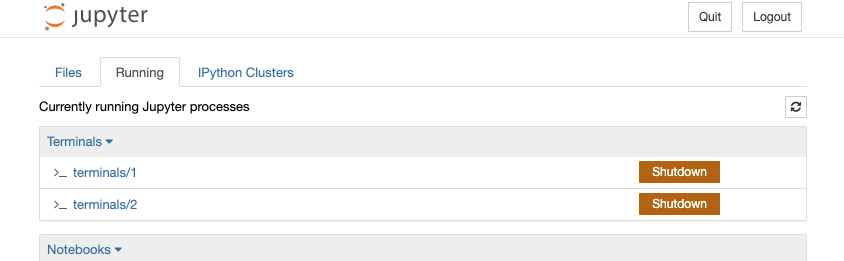
- To move between your Notebook and the control page that allows you to see your files and select any running Notebooks, clusters and terminals, simply click on “Running” under the “Jupyter” banner in the upper left corner of your Notebook.
- You can have your session continue to operate in the background by selecting the “Logout” button.

- To terminate a running Notebook, select the “My Interactive Sessions” tab and delete the session.
At this point you should already have a fully working Jupyter environment. To start working with Jupyter Notebooks, please see the Jupyter Documentation.
Installing Python packages
A variety of standard Python packages (such as numpy, scipy, matplotlib and pandas) are available automatically. To see what packages are available, open a Terminal notebook (see item 5.4 above) or open a Terminal on Lawrencium in the usual fashion. Then load the Python version of interest (here Python 3.7) and list the installed packages:
module load python/3.7
conda list
There should be no issues using pip to install or upgrade packages and then use them in a Jupyter notebook, but you will need to make sure to install the new versions or additional packages in your home or scratch directories because you do not have write permissions to the module directories. You can use pip install –user $MODULENAME to install the module to $HOME/.local. So, if you need to install additional packages, simply load the desired Python module in the usual way and then use pip to install in your home directory. For example for Python 3, you can install the rpy2 package (needed in the next section) with:
module load python/3.7
pip install --user rpy2
If you would like to install packages with conda install you will need to create a Conda environment in which to install packages and then create a kernel associated with your Conda environment as discussed in the next section.
Adding new kernels
Jupyter supports notebooks in dozens of languages, including IPython, R, Julia, Torch, etc.
If you’d like to use a language not indicated in the drop-down menu discussed in step 6 above, you’ll need to create your own kernel. You may also need to create your own kernel for a language already supported if you want to customize your environment. For example, to set UNIX environment variables (such as $PYTHONPATH if you have packages installed in non-standard locations) or source a script in advance of running your notebook, you can do this by creating your own kernel. Or if you’d like to work within a Conda environment when using your notebook, you’ll also need to create a kernel.
Manually creating a new kernel
To add a new kernel to your Jupyter environment, you’ll need to create a subdirectory within $HOME/.ipython/kernels. Within the subdirectory, you’ll need a configuration file, “kernel.json”. Each new kernel should have its own subdirectory containing a configuration file.
Here we will illustrate how to create your own IPython kernel, in this case a kernel that allows you to call out to R via the rpy2 python package. We will name the subdirectory for this kernel as “python3-rpy2”. Here is an example “kernel.json” file that you can use as a template for your own configuration files. This file would be placed in $HOME/.ipython/kernels/python3-rpy2. (Note that for this to work you also need to install the rpy2 package for Python 3.6 within your account as discussed just above.
{
"argv": [
       "/global/software/sl-7.x86_64/modules/langs/python/3.7/bin/python3",
       "-m",
       "ipykernel",
       "-f",
       "{connection_file}"
],
"language": "python",
"display_name": "Special Python 3 with rpy2",
"env": {
       "PATH" : "/global/software/sl-7.x86_64/modules/langs/r/3.4.2/bin:/usr/local/bin:/bin:/usr/bin:/usr/local/sbin:/usr/sbin:/sbin:/global/home/groups/allhands/bin",
       "LD_LIBRARY_PATH": "/global/software/sl-7.x86_64/modules/langs/r/3.4.2/R/lib"
}
}
Please review the IPython Kernel Specs for more details regarding the format and contents of this configuration file. In particular, please make sure $PATH, $LD_LIBRARY_PATH, $PYTHONPATH, and all other environment variables that you use in the kernel are properly populated with the correct values.
Using a Conda environment
Another approach to adding a new (Python) kernel to your Jupyter environment is to create a conda environment and add it as a kernel to Jupyter. When in Jupyter, you will then be able to select the name from the kernel list, and it will be using the packages you installed. Follow these steps to do this (replacing $ENV_NAME with the name you want to give your conda environment):
module load python/3.7
conda create --name=$ENV_NAME ipykernel
source activate $ENV_NAME
python -m ipykernel install --user --name $ENV_NAME
Here we’ll illustrate how to create your own Tensorflow kernel within a Python Jupyter environment, so that you can import and utilize the python tensorflow package from within a Jupyter notebook:
module load python/3.7
conda create --name=tf ipykernel
source activate tf
python -m ipykernel install --user --name tf --display-name="Tensorflow"
conda install tensorflow
Now you can choose the Tensorflow kernel you just created from the kernel list in your Jupyter environment, and you can verify that you can utilize and access the Python Tensorflow package from within a cell in a Jupyter notebook as follows:
import tensorflow
Enabling extensions
If you want to create or use notebooks with interactive widgets, a table of contents, or collapsible code blocks, you need to enable Nbextensions. From the “New” dropdown menu (same as in step 4), select “Terminal”. Copy and paste the code below into the terminal prompt, and hit enter.
module load python/3.7
jupyter contrib nbextension install --user
After stopping and restarting your server as well as logging out and back in, when you return to the JupyterHub page, you should see a new tab for Nbextensions, where you can enable or disable individual extensions. Shut down and relaunch any running notebooks, and the extensions will be present.
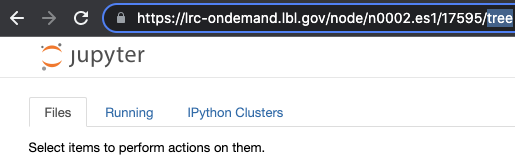
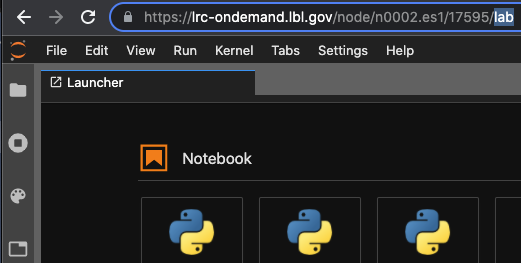
Using the Jupyter Lab interface
Once you’ve started the Jupyter interface and see the main Jupyter page, which should show a list of files in your working directory, modify the URL in your browser so it ends in “/lab” rather than “/tree“. That will change to the Jupyter Lab interface.